
Manage guest payments better with all new SeekomPay
We’re thrilled to announce the launch of SeekomPay – our brand-new payment solution designed to save you money and provide a seamless experience for guests booking accommodation at your property.
To celebrate the launch, we’re offering a special deal that will see sign-up fees waived for any Seekom users who sign up for SeekomPay before the end of September 2023. Created for users of our Seekom iBex property management software, SeekomPay provides a secure and fully integrated gateway for customer payments and lower rates than many third-party options.
Provide an exceptional payments solution for guests, save time and money, and manage all your guests’ bookings end-to-end within the Seekom ecosystem. What’s not to like?
Key benefits
- Improve cash flow: Customer payments are automatically deposited into your nominated bank account the next business day
- Seamless integration: SeekomPay works seamlessly with Seekom Property Management System, keeping things simple and easy.
- Flexible ways to pay: You can request credit card details via SMS or email for phone bookings, keeping payments secure and simplifying the payment process.
- Secure and compliant: You’ll benefit from full PCI compliance, safe credit card storage and 3DSecure 2 technology embedded into SeekomPay payment links, keeping you and your guests safe from potential security breaches.
- Transparency and trust: Your SeekomPay merchant portal provides you with complete transparency over your online transactions and detailed reporting, acting as a source of truth for your business.
- Save time: Your SeekomPay merchant portal allows you to track and reconcile all transactions with ease and automate repetitive tasks.
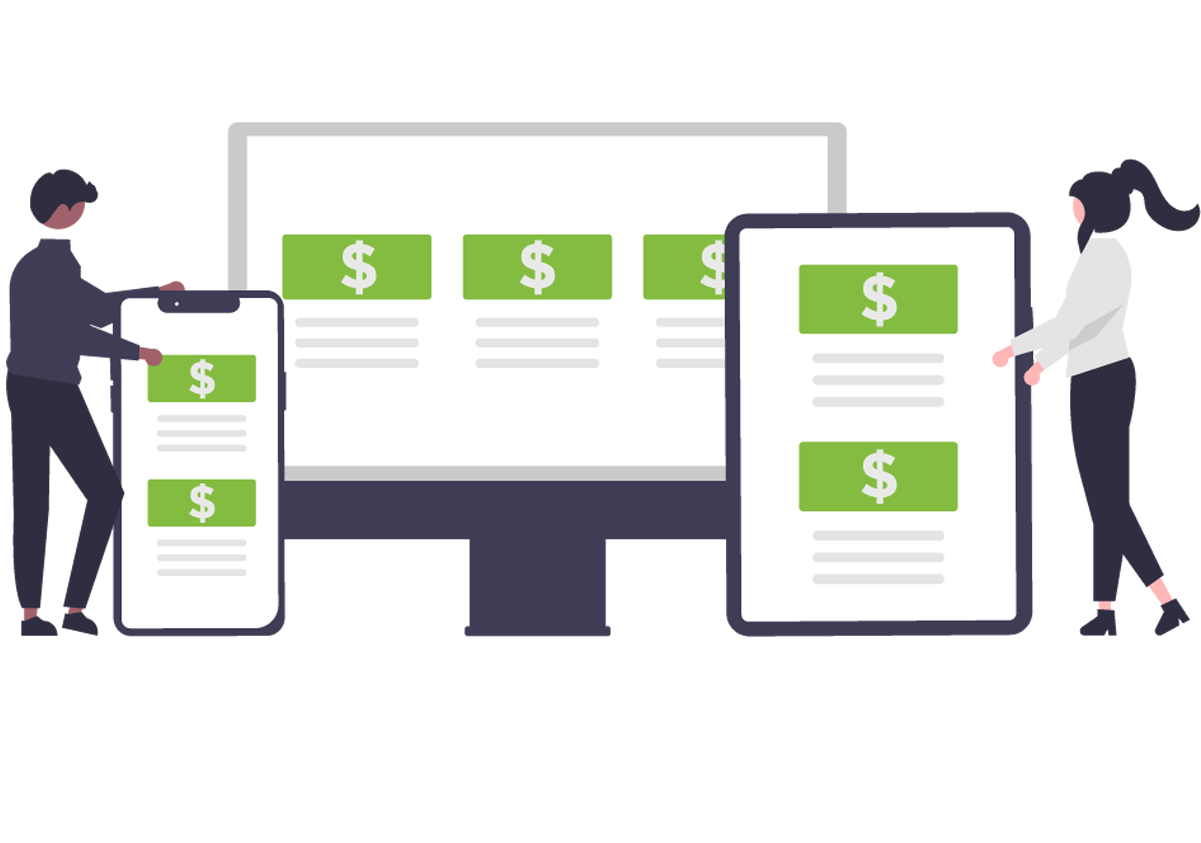
- Save money: Our competitive rates will add to your bottom line.
Find out more on our SeekomPay product page.
Switching to SeekomPay is easy – if you’re already a Seekom customer, you can simply contact us and a member of our team will be in touch to help you
[hubspot type=form portal=9090717 id=c02e5436-b311-4ce9-af73-572bfbc75c13]
Sign Up For Updates
Recent Blog Post
Smarts to help you operate more effectively and efficiently. From guides of our systems and integrations to tips and tricks you can use every day - we've got you covered.

One of our amazing business development managers will be in touch to showcase our product to you and talk you through how we can help grow your business.
Contact Us
PO Box 9300, Marion Square, Wellington 6141
Phone (NZ) : +64 4 974 9588
Phone (UK) : +44 20 3835 5939
Support: support@seekom.com
Websites: webhelp@seekom.com
Copyright 2022 © Seekom Limited (NZ owned)
Seekom enhancements make promo easier, save time
A feature allowing Seekom users to add promotional banners to their properties’ online booking screens is among the latest batch of improvements released in recent weeks.

We’ve also made it possible to display the booking calendars for all rooms advertised on your website, added the ability to change the default booking duration for prospective guests when they first arrive on your site and made setting up scheduled guest emails easier.
Read on for an overview of our recent enhancements and a quick guide to setting them up at your place.
Showcase special offers with the new promo banner
Want to promote a special offer, share an important notice or wish your guests happy holidays? We have added the ability to display a text promo banner at the top of our new booking screens.
Adding a banner is a great way to call out any seasonal promotions or special deals on longer stays you are offering.
To set this up:
-
- Log in to your Seekom iBex account
- Navigate to your booking screen template
- Open the ‘General Fields’ tab and scroll down to the ‘Promo Banner’ section
- Add the text you would like to display
.

Adding a banner is as simple as typing in the words you would like included.
")
Once set up, the banner will display at the top of your booking screen.
Display booking calendars on the room listing screen
We have upgraded our new booking engine to make it possible for you to display a booking calendar for all of your rooms, directly from your rooms listing screen.
Previously the calendar view was only visible once a prospective guest clicked the ‘Show Calendar’ button for the room they were interested in. This enhancement gives you the option to make the booking calendar load by default for all room types, if you wish to do so.

You can now turn ‘Show Flexible Calendar on Load’ on or off in the ‘Other Options’ section.
To set this up:
- Log in to your Seekom iBex account
- Navigate to your booking screen template
- Open the ‘General Fields’ tab and scroll down to the ‘Other Options’ section
- Tick the ‘Show Flexible Calendar on Load’ option.

Once enabled, calendar view displays by default for all rooms on your room listings page.
The power to change the default booking duration
Until now our new online booking engine has pre-selected a one-night stay for prospective guests when they load the booking screen for your accommodation. Our recent updates give you the power to choose whichever default booking duration makes most sense for your property, whether that be one, night, three nights, five nights, or any number you choose.
Prospective guests can still change the duration themselves, but the ability to set the default booking duration when the page first loads can help encourage longer stays and ensure any long-stay discounted rates you offer are shown up front.
To set this up:
- Log in to your Seekom iBex account
- Navigate to your booking screen template
- Open the ‘General Fields’ tab and scroll down to the ‘Other Options’ section
- Enter the number of nights you would like to be selected when your booking pages first load into the ‘Booking Duration’ field.

You can now set the default booking duration for guests booking at your property.

The default booking duration you choose is pre-selected for guests visiting your site.
Save time setting up scheduled emails for guests
Setting up automated messages before they arrive, after they depart, or at different points during their stay can improve their experience and provide an opportunity to let them know about some of the additional paid services you offer. But setting these messages up can take a bit of time.

You can now select multiple properties or multiple room types for Seekom scheduled emails.
Setting up automated messages before they arrive, after they depart, or at different points during their stay can improve their experience and provide an opportunity to let them know about some of the additional paid services you offer. But setting these messages up can take a bit of time.
Follow our updated scheduled emails help guide for information on choosing multiple room types or properties for a scheduled email you have set up.
Still need to set up the new booking screen on your website?
Many of the enhancements mentioned in this article are only available to Seekom users who have set up the new and improved booking system on their website.
To find out more about the new booking system and how to set it up on your website, check out this blog post
 (1)")
Note: Something you may not know, is that we also build websites. Many of our customers have Seekom built, fully managed websites which we maintain, including SEO management. If you’re interested in finding out more about this, get in touch.
Sign Up For Updates
Seekom Blog
Smarts to help you operate more effectively and efficiently. From guides of our systems and integrations to tips and tricks you can use every day - we've got you covered.


One of our amazing business development managers will be in touch to showcase our product to you and talk you through how we can help grow your business.
Contact Us
PO Box 9300, Marion Square, Wellington 6141
Phone (NZ) : +64 4 974 9588
Phone (UK) : +44 20 3835 5939
Support: support@seekom.com
Websites: webhelp@seekom.com
Copyright 2022 © Seekom Limited (NZ owned)

Maximising downtime: 7 steps to set your accommodation up for success
For accommodation and hospitality businesses, the months outside of peak season provide a rare opportunity to get one’s house in order.
Sure, you’ll want to take some time to recharge your batteries (we all need some downtime), but the quieter months also provide an opportunity to take stock of the competition and lay the foundations for the busy season ahead.
We’ve outlined seven key steps you can take during a quieter period to make sure your accommodation business is in tip top shape for peak season.
1. Futureproof your pricing
Have you got your pricing right? The quieter months are a good time to investigate accommodation providers in comparable settings offering a similar standard of accommodation to you, to see how your pricing compares.
What has your occupancy been like, and have your operating costs increased? These factors should also be taken into account when considering whether a price update makes sense.
If you decide a price change is called for, then our short how-to guide to updating your pricing in Seekom will make the process easier.
2. Consider minimum stay durations
It’s perfectly reasonable to require minimum stays of more than a day or two over peak times, such as public holiday weekends or the Christmas and New Year break.
While a shorter minimum stay will ensure your accommodation appeals to the widest possible number of guests, it can also result in more work for your team and lead to awkward windows of time between bookings that some guests may not find workable.
If you do decide to change your minimum stay settings, it’s easy to do within Seekom.
3. Make sure your website is up to date
It’s crucial to create the right first impression when potential guests arrive on your website. There’s nothing worse than arriving on a site to book accommodation for a dream getaway, only to find the information is incorrect or room descriptions aren’t up to date.
The quieter months are a good time to do a website review to make sure everything you said about your property and rooms last year remains current. You may even be able to improve on your content based on guest feedback or an improved understanding of what makes your property unique.
Photos are worth considering as part of this process; the images you use on your website, social media and any other promotional channels should show your property in the best possible light and be high resolution so they look sharp and not pixelated. Paying a professional photographer is often worth the investment.
We have created a handy guide for uploading room and property photos within Seekom. For best results on our platform, we recommend image dimensions of 1,200 x 800 pixels.
4. Tidy up staff permissions
If you have a lot of team members using Seekom, it’s a good idea to review staff permissions from time to time. Best practice is to grant staff permissions on an “as required” basis, so staff members only have the authority they need in order to do their job.
If staff have left, or changed roles, you may need to update their user profiles to remove permissions or make sure that they have the ability to perform all aspects of their role.
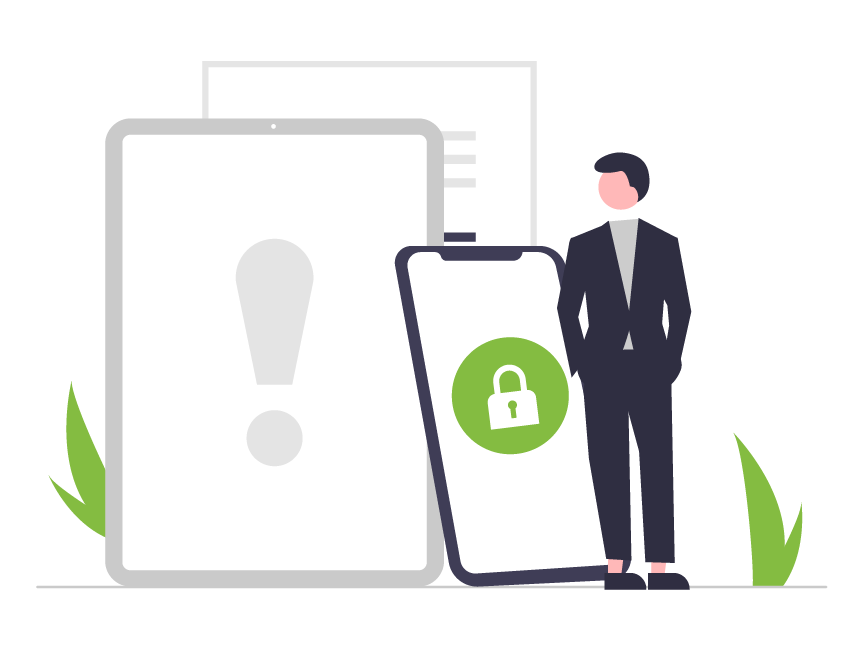
Updating staff permissions is important for efficiency, as well as security. Our recent article about keeping data secure provides a helpful guide on some important data-security considerations and actions you can take.
5. Make your extra services available at booking
Do you offer breakfasts, tours, newspapers, hire of sports gear or other extras that guests staying with you can purchase?
Seekom allows you to make these available as add-ons that guests can pay for when booking your accommodation online using our booking engine.
If you haven’t already set up the extra services you offer, a quieter period is a great time to do it. Our ’Create a new extra’ help guide has details on how to get everything set up.
6. Leverage the power of social media
Most of your potential customers are now on social media but there are still a huge number of accommodation businesses that aren’t making the most of it.
A good social media profile can increase website traffic, promote deals you may have, highlight positive reviews from guests and gather customer feedback to improve your services.
If you’re starting out or want to up your game, a good first step is to take cues from what other successful accommodation providers do – imitation is the sincerest form of flattery.
Lastly, remember that social media is just one of many digital marketing channels you harness to promote your business. Read our guide on growing revenue by increasing your direct bookings for more ideas.
7. Measure your digital marketing results
One of the advantages of digital marketing over many other forms of marketing is that it is highly measurable. If you haven’t already, it’s worth making sure Google Analytics is set up on your website to ensure you have access to data about how customers are interacting with your site and which of your digital marketing efforts are bearing fruit.
For Google Analytics to work, you will need to have the latest GA4 tracking code in place. We’ve put together some handy guides to explain why Google Analytics is so important and how you can set it up on your website.
If you run advertising on Facebook or Instagram, it’s also worth setting up a Meta pixel on your website, to gauge the success of your marketing spend across both channels.
Time to take action!
Hopefully this article has offered you some useful tips to set your business up for a successful year ahead.
Even if you don’t do everything in this list, ticking off at least a few when time allows will mover your business forward and put you in a better place for the next busy period.
Note: Something you may not know, is that we also build websites. Many of our customers have Seekom built, fully managed websites which we maintain, including SEO management. If you’re interested in finding out more about this, get in touch.
Sign Up For Updates
Recent Blog Post
Smarts to help you operate more effectively and efficiently. From guides of our systems and integrations to tips and tricks you can use every day - we've got you covered.
One of our amazing business development managers will be in touch to showcase our product to you and talk you through how we can help grow your business.
Contact Us
PO Box 9300, Marion Square, Wellington 6141
Phone (NZ) : +64 4 974 9588
Phone (UK) : +44 20 3835 5939
Support: support@seekom.com
Websites: webhelp@seekom.com
Copyright 2022 © Seekom Limited (NZ owned)

Seekom’s online booking screens now support Google Analytics 4 measurement
Our online booking screens have been upgraded to work with Google Analytics 4 (GA4), ensuring you will be able to continue measuring visits, conversions and other helpful website data when Google retires its Universal Analytics tracking code on 1 July 2023.
Setting up your Seekom online booking screen to work with GA4 is as simple as adding your GA4 Measurement ID into the Website Booking Templates section of your Seekom iBex admin account.
Once added, Seekom’s system will ensure data from activity on your booking screens passes to Google Analytics seamlessly.
How do I set up GA4 for Seekom’s online booking screens?
To take advantage of GA4 on our online booking screens, you will first need to have it setup on your website. If you haven’t already, follow Google’s GA4 help guide to create a GA4 property and link it with your existing site.
Once done, follow the relevant steps below, depending on whether you are using our new online booking screens or our original booking screens.
NOTE: If you are on a fully managed Seekom website plan we will do these steps for you and you won’t have to do anything (see the section later in this article for more on this).
Setting up GA4 on Seekom’s new online booking screens
Step 1: Log in to your Google Analytics account and navigate to Admin > Select your GA4 Property > Data Streams > Web Streams (detailed instructions here).
Select your web stream and highlight and copy your GA4 Measurement ID (it usually starts with “G-”):

Step 2: Log in to your Seekom iBex account and use the left sidebar to go to Website Bookings > New Website Booking Templates.
Once there, select your booking template, open the ‘Custom Scripts’ tab and paste or enter your GA4 Measurement ID into the ‘Google Analytics 4 ID’ field.

Setting up GA4 on Seekom’s original online booking screens
If you haven’t yet moved to our new online booking screens, now is a good time to do it (instructions here).
However, if you aren’t ready to make the switch just yet, you will still be able to set up GA4 tracking for our old booking screens.
IMPORTANT: Make sure to add your GA4 tag to the booking screens as soon as possible after 27 June as the Universal Analytics Tracking Code will stop capturing data from our original booking screens from that date onwards. As soon as you’ve added the GA4 tag it will start capturing data again.
Step 1: Log in to your Google Analytics account and navigate to Admin > Select your GA4 Property > Data Streams > Web Streams (detailed instructions here).
Select your web stream and highlight and copy your GA4 Measurement ID (it usually starts with “G-”):
Step 2: Log in to your Seekom iBex account and use the left sidebar to go to Website Bookings > Website Booking Templates.
Once there, select your booking template, open the ‘Custom Scripts’ tab, scroll down to the ‘Script / Tracking Code’ section and paste or enter your GA4 Measurement ID into the ‘Google Analytics 4 ID’ field.

What if I’m on a fully managed Seekom website plan?
If you are on a fully managed Seekom website plan our team will take care of everything. Your website will be set up to work with GA4 and the tag will be added to any Seekom booking screens used to take accommodation bookings on your website. Please contact our website team on webhelp@seekom.com if you do not want this to occur.
Why is Google Analytics important and why do I need to use GA4?
Google Analytics allows you to track and understand your customer’s behaviour, their user experience, how they interact with your content, and more on your website. This can help you shape your marketing and business strategy.
In the past, this tracking was done by using a Google ‘Universal Analytics (UA) Tracking Code’ on your website, but Google is retiring that for most users on 1 July 2023.
A new ‘Google Analytics 4 (GA4) Measurement Tag’ is replacing the old UA code to enable Google Analytics measurement going forward.
For more information about why it’s helpful to set up Google Analytics 4 on your website, read our ‘Why should you upgrade your website to GA4?’ blog.
One of our amazing business development managers will be in touch to showcase our product to you and talk you through how we can help grow your business.
Contact Us
PO Box 9300, Marion Square, Wellington 6141
Phone (NZ) : +64 4 974 9588
Phone (UK) : +44 20 3835 5939
Support: support@seekom.com
Websites: webhelp@seekom.com
Copyright 2022 © Seekom Limited (NZ owned)

More improvements for Seekom’s online booking screens
Our new online booking screens have been enhanced to give you more control over how your rooms display to guests browsing your website. We’ve also updated our calendar view to make it easier for guests to see discounted rates for longer stays and we’ll soon release a further improvement that will save staff time when entering details for guests who book over the phone or in person.
These enhancements are available to everyone using our new booking engine and build on the multi-property view and custom fields improvements made in March.
More power to choose the order your rooms display in
The latest round of enhancements provides you with more control over the order your rooms display in when guests who want to make a booking arrive on your website booking pages.
You can now select the default “sort order” that determines which rooms appear at the top of the list when guests looking to make a booking arrive on your site. The options we have added are:
- Alphabetical A-Z
- Alphabetical Z-A
- Price High to Low
- Price Low to High
- Property Display Order (based on how you order the rooms in iBex)
For detailed instructions on how to set the room sort order, read our help guide.

Choose the default room sort order in your Seekom iBex settings.

The default ‘sort order’ chosen determines how your rooms appear on your booking screen.
Select a default setting for minimum number of guests
You now have the ability to pre-set the ‘Minimum Number of Guests’ dropdown on your online booking screen to a number that makes most sense for your property.
Previously the dropdown always defaulted to two guests, which could pose a problem for hostels providing accommodation for backpackers and people travelling alone. The old setup meant any bunk beds or accommodation designed for a single guest would not display unless a website visitor manually changed the dropdown to ‘1 Guest’.
This issue has been resolved with this latest enhancement.

Choose the default value for the minimum number of guests in your settings.
Website visitors can still change the ‘Minimum Number of Guests’ dropdown to search for rooms that cater for their specific group size.

Once chosen, the ‘Number of Guests’ dropdown on your live booking screen will default to the number selected.
Improved visibility for your long-stay discounts
Want to encourage guests to stay on for longer? We’ve updated our booking calendar view, to make it easier for guests to see discounted rates you’re offering for longer stays.
In the example shown below a $210 nightly rate is displayed for a one or two night stay, but that drops to a lower rate of $175 if a guest extends their stay to three nights by arriving earlier or departing later.

Rates displayed for two nights only using the new booking calendar view.

If a longer stay is selected, the long-stay discount is applied.
Save time when searching for guests using their home address
The fourth improvement, due for release by the end of May, is a small tweak designed to speed up the process of entering guest details when they make a booking with a member of your team over the phone or in person.
The address field will now auto populate with possible matching results when you or a member of your team enter a guest’s address into the system, removing the need to type their entire address and reducing the potential for typos or spelling mistakes.

Guest address searches now pre-populate to save you time.
We hope you enjoy these latest improvements, available to all users of our new booking system. If you are not yet using the new booking system and want to know more about how to set it up, make sure to read our recent blog about it.
If you have any other ideas that you feel would be valuable for us to develop, log into our feature forum and put your idea up. All our operators are able to submit or vote on any ideas put forward and many of the features mentioned in this blog were suggested via the forum.
One of our amazing business development managers will be in touch to showcase our product to you and talk you through how we can help grow your business.
Contact Us
PO Box 9300, Marion Square, Wellington 6141
Phone (NZ) : +64 4 974 9588
Phone (UK) : +44 20 3835 5939
Support: support@seekom.com
Websites: webhelp@seekom.com
Copyright 2022 © Seekom Limited (NZ owned)